1. Cut all the pages out of a used hardcover book
2. Construct the liner: sew four 45º angled elastic strips to one side of a fabric rectangle, with at least 1" overlap allowed
3. Mount liner: Glue said rectangle to inside of (empty) book, wrapping & gluing edges around the front
4. Construct exterior: Sew edging or hemming tape onto a rectangular fabric cut to fit the outside of (empty) book
5. Mount exterior: Glue prepared rectangle to outside of (empty) book
6. Finish: Seal edges down with glue and hand stitch to finish
Pictures:
 Used hardcovers books in various sizes can be found at our local used bookstore, Gardner's - there is a bargain shelf outdoors where you just drop a quarter in the slot for any book.
 Remove all the pages with a box knife or such.
 Cut strips of elastic with enough allowance to sew the rough edges under.
 The fabric I bought as remnants at Hancocks. All the supplies together cost just over $8.00.
 Here I've laid the elastic strips under the Kindle to figure out placement.
 I marked the placement with plain white chalk.
 A more distant view for explanation.
 Here I've sewn the elastic in place and now I'm planning how I should place the lining on the book.
 I decided to mark the edges with chalk so I could best keep the lining lined up properly while I glue it.
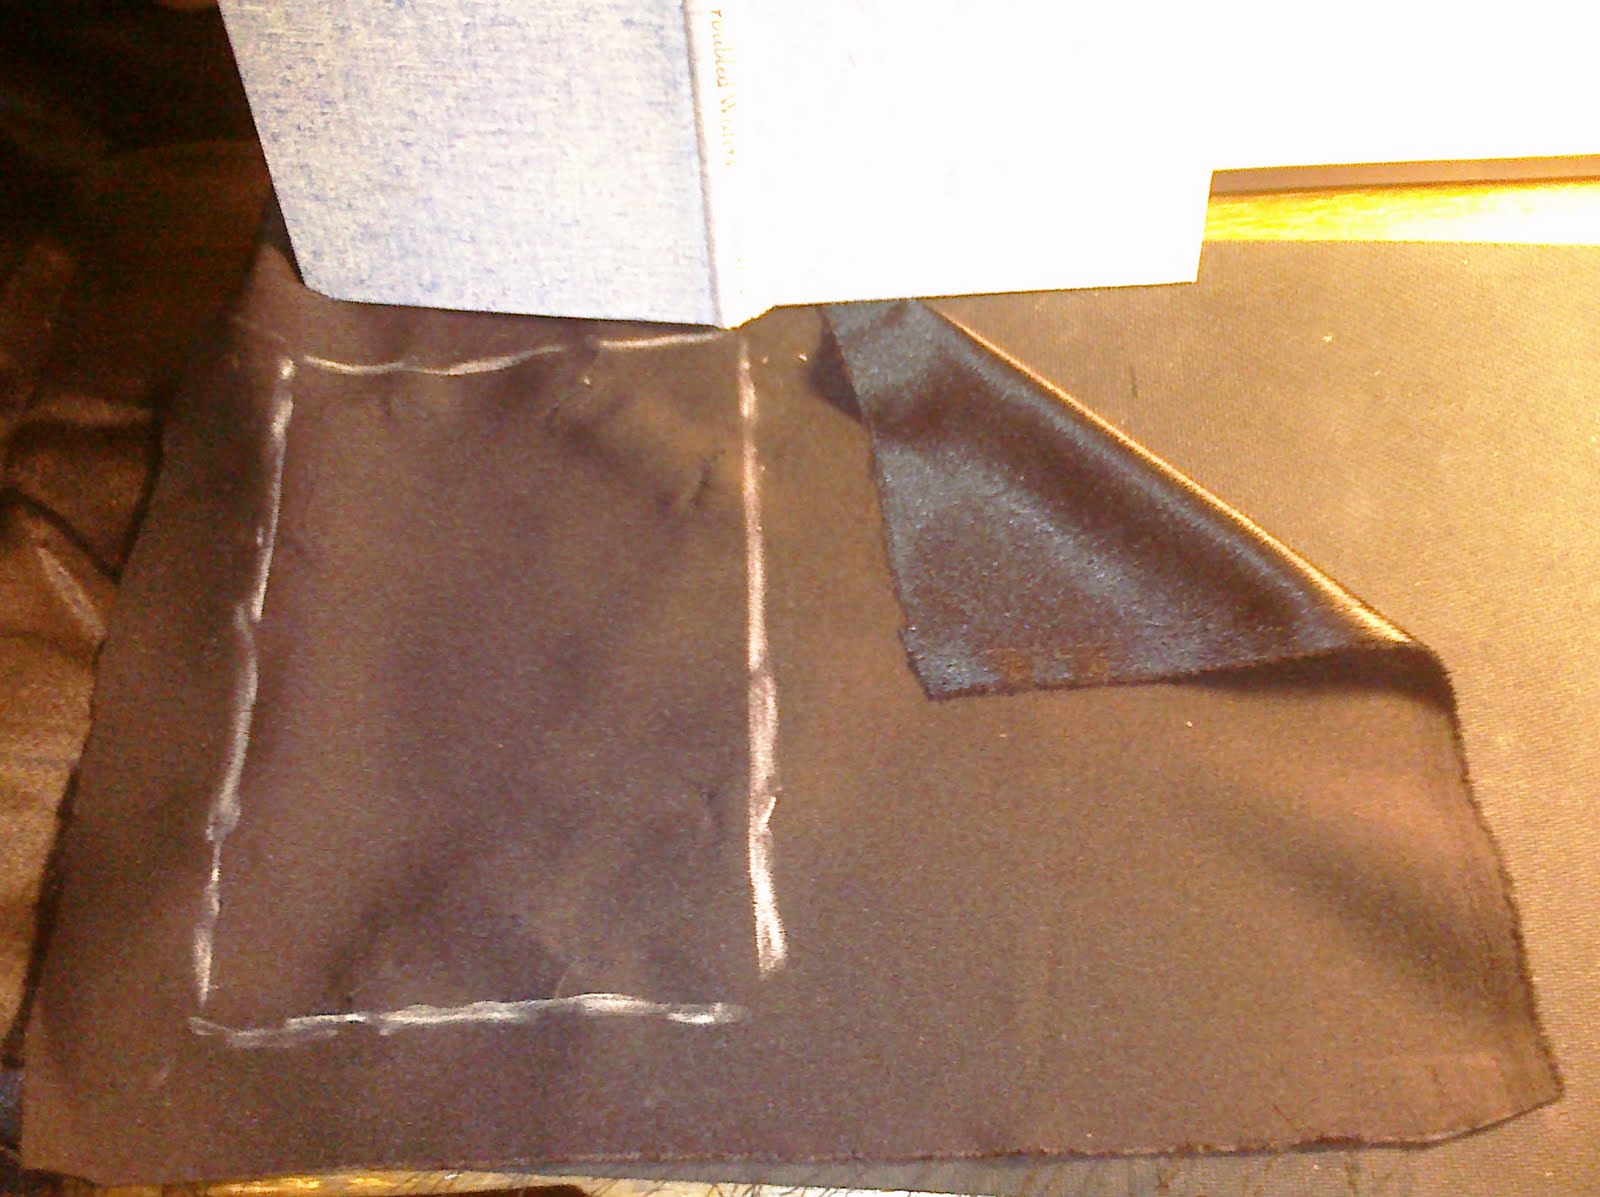 Chalk outline. Maybe I should read some murder mysteries. I used to love those as a teenager.
 I used the basic tacky glue. It turned a bit lumpy with the satin, but actually when I bought the satin remnant, it was wrapped up so tightly I didn't know it was satin - I could just see the crepe back and thought I was getting a thick polyester that would hold up well to glue. The satin is pretty but it shows every lump.
 Wrapped and glued around. Just a rough edge is all that's needed for the lining - this side will be covered shortly.
 I decided to pull out the ol' t-square for the outside fabric. I chose upholstery fabric because I wanted that rough fabric feel of an old-fashioned hardcover book. Due to the the thickness though, I saw the corners would give me trouble and so decided the hemming tape would be the best choice for edge wrapping, and I should just cut the upholstery exactly to size - squared off - thus the t-square. (This is a relic from my college drafting days - yes we still used drafting boards back then)
 Laying out the hemming tape to size.
 At the top of this picture you can see I used a zig-zag stitch to attach the hemming tape.
 Squaring off the last side.
 Who else do you know that has a Tonka toy from their childhood on display with their sewing supplies? My mother has a picture of me with this toy when I was about 18 months old. I've loved this toy for many years.
 Here I've glued the outside fabric in place.
 The hemming tape has a little glue applied as I wrapped it and pinned it down. I let one side dry before doing the other to avoid getting stuck to the work surface. I also stitched around the inner edges for a better finish.
Reading = joy. The texture of the fabric is pleasant to the touch and allows a comfortable hold on the Kindle where it used to slide out of my grip.
No comments:
Post a Comment